Designing characters and environment using Sketchbook Pro
How to create and develop characters in an environment
I was working on a project which needed me to create character interactions in an environment. It was about a family of rabbits. Mrs. Rabbit was tired of Mr. Rabbit always asking her to cook carrots. This picture was meant to show Mrs. Rabbit's helpless condition when Mr. Rabbit carries home a fresh box of carrots. Mrs. Rabbit does not want to eat anymore carrots.
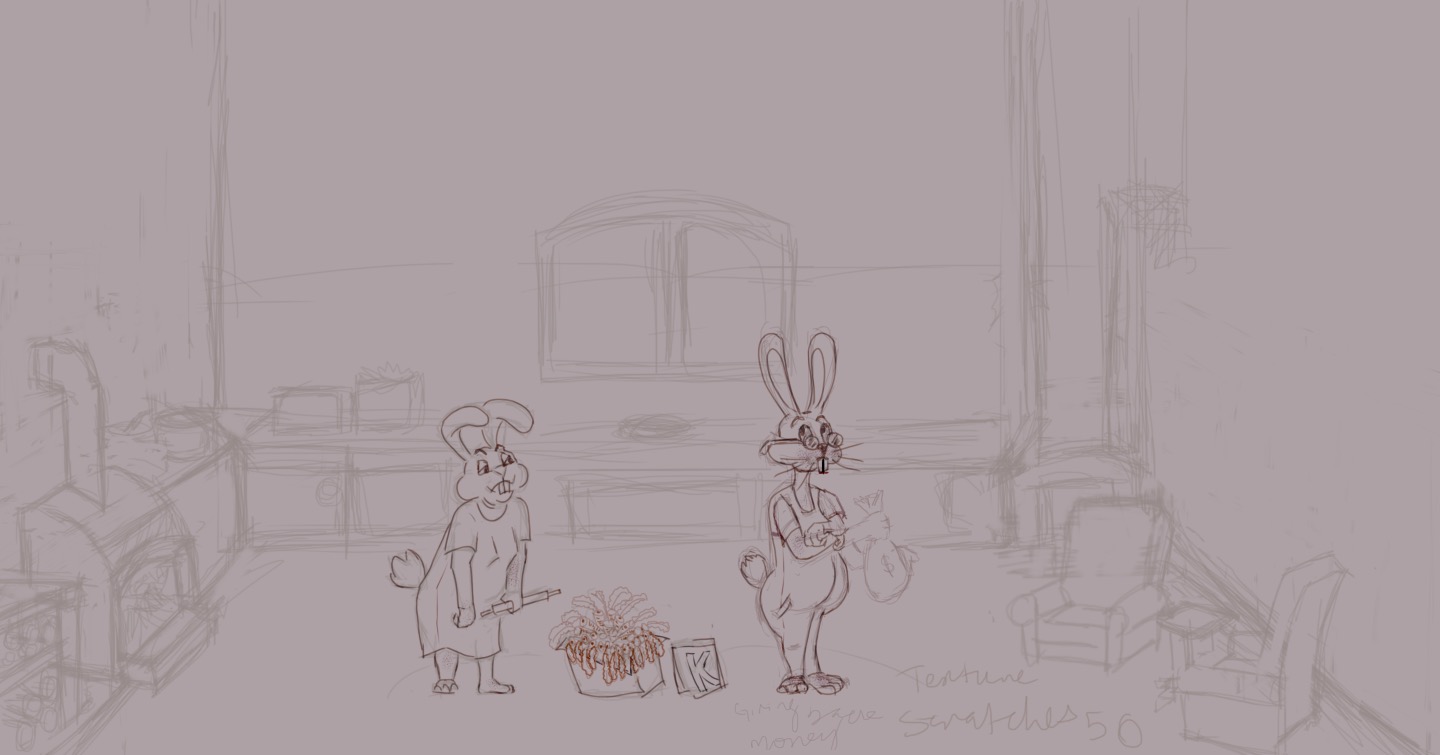
For this, I first created a rough sketch of a house, and the rabbits. Mr. Rabbit is trying to avoid an awkward conversation with Mrs. Rabbit. I included a box of carrots in the foreground. The kitchen has some utensils, an old fashioned oven, some firewood and a sink. Poor bunnies have a small house, so the kitchen also has a couple of chairs. I usually write notes in a different layer while drawing the rough sketch, so if you find some notes, please ignore.
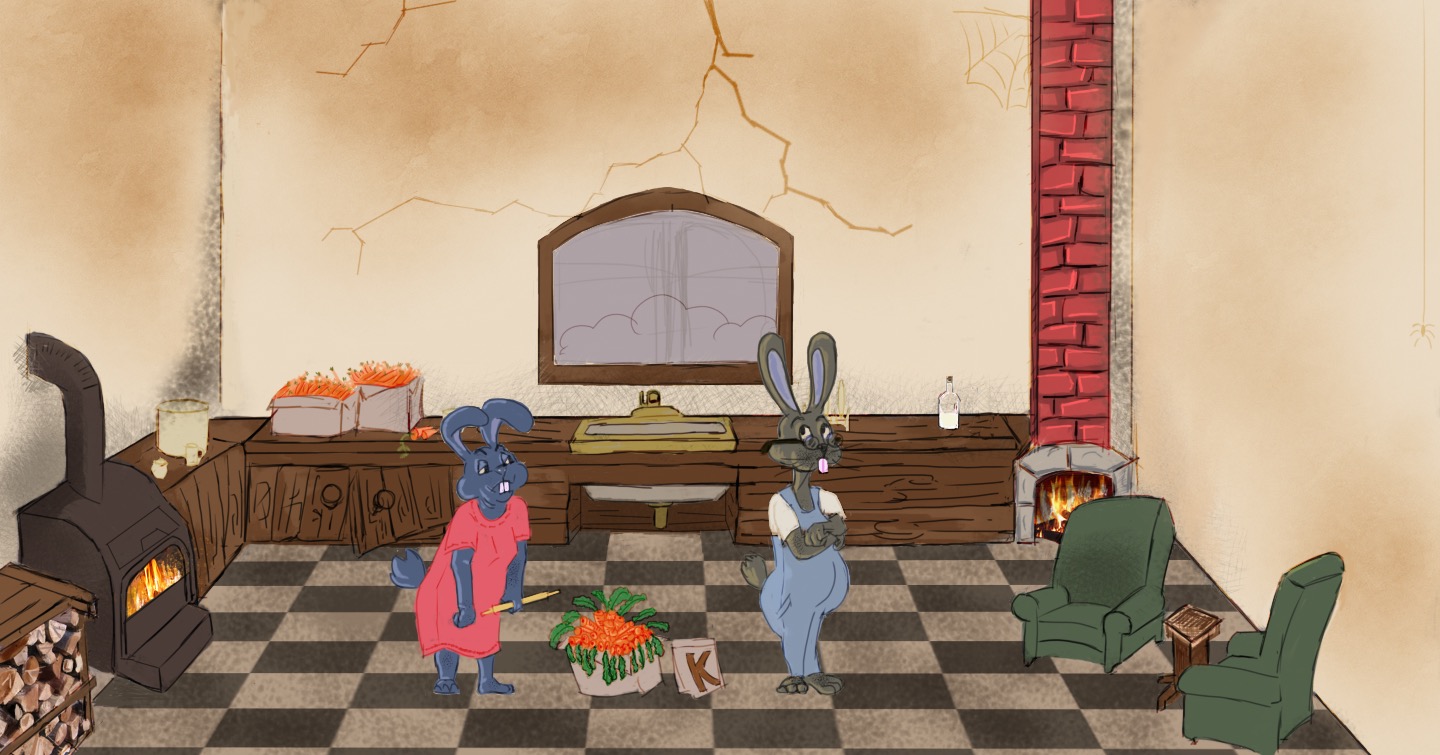
When I was fairly satisfied with what I had drawn, I made a line art layer on top to make the sketch a little more clear. After a bit of cleaning up, I added a colours layer. To simplify the number of steps in this post, the next picture is going to include all the elements I just mentioned.
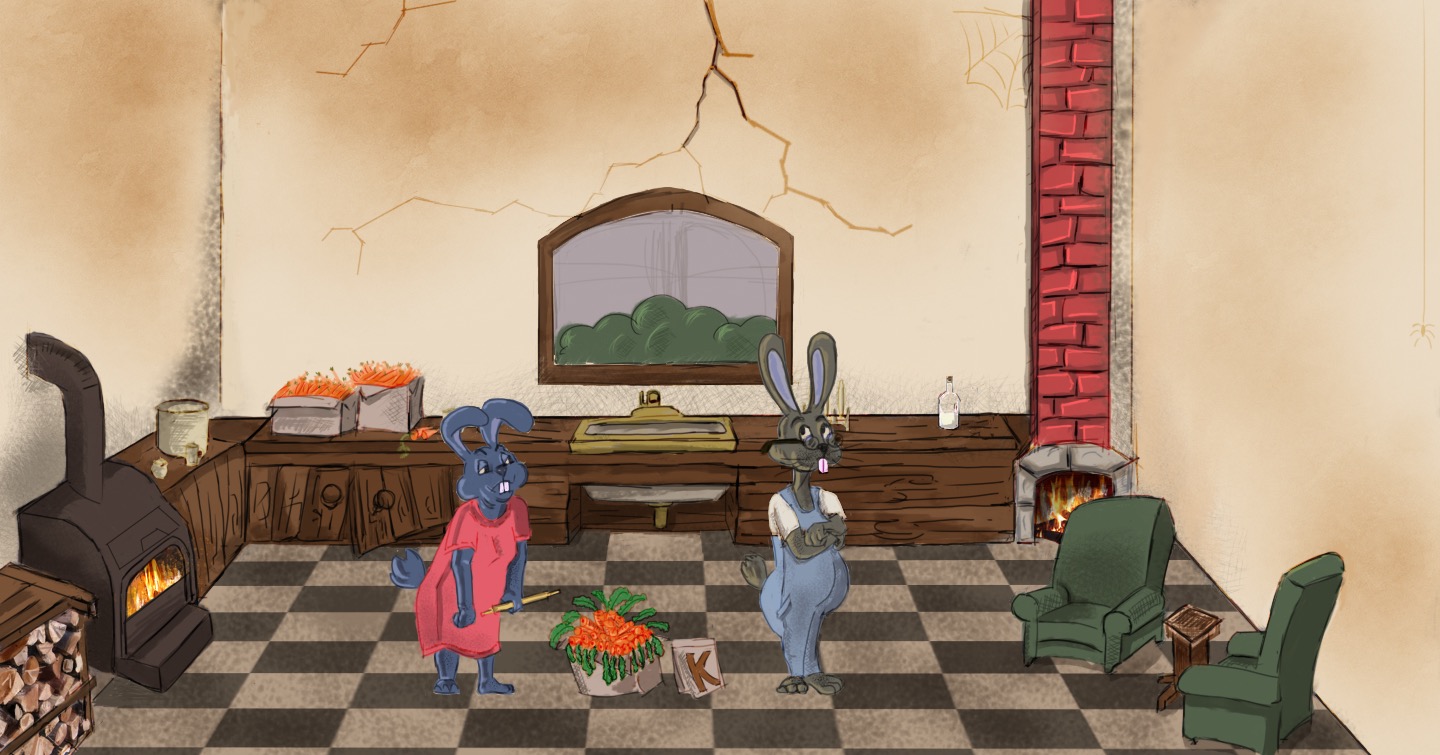
You may notice that there are some more carrots in the background. This is only to show how much Mr. Rabbit loves his carrots, but sadly for Mrs. Rabbit, this love for carrots is not mutual. After this step, I added some shadows, and while I was working on the shadows, I wanted to add some details like a few plants visible through the kitchen window.
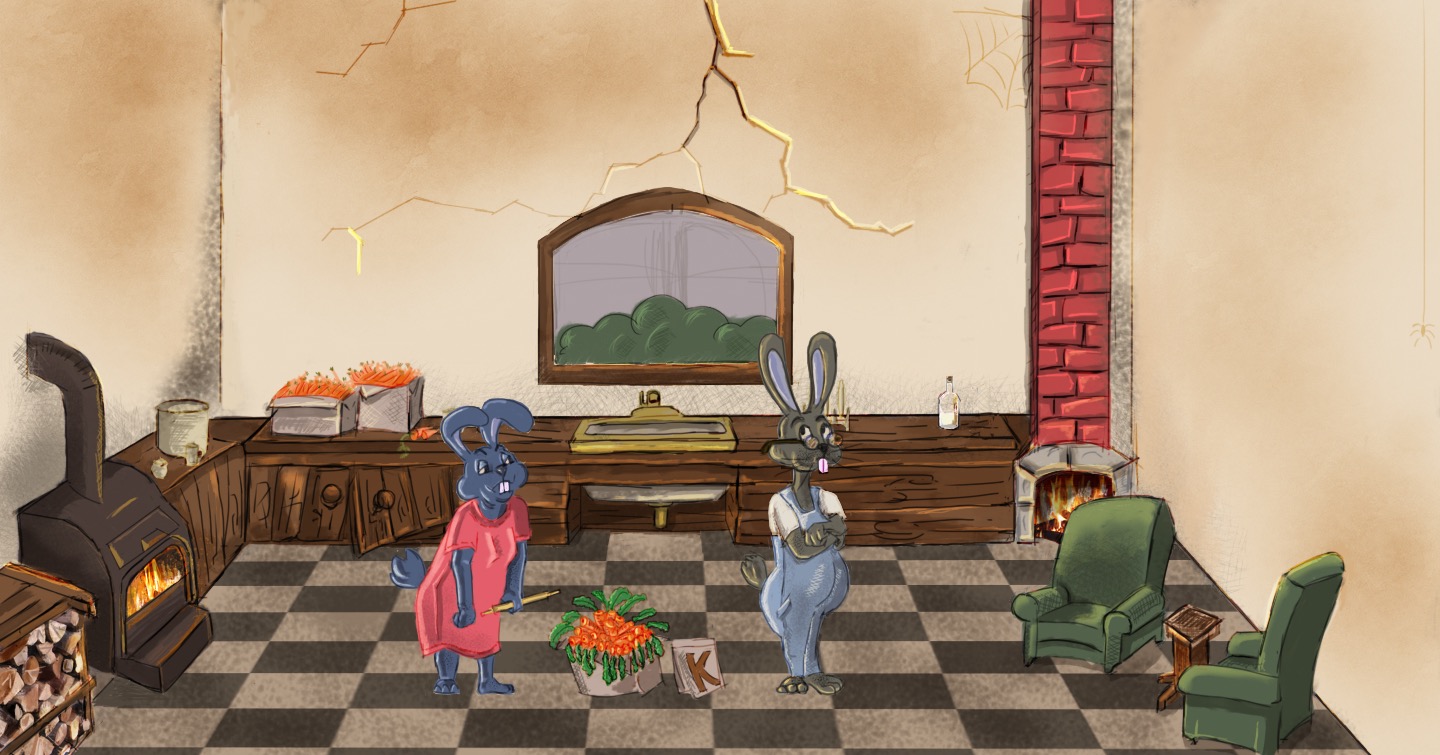
After adding some shadows, it was time to add some highlights. I chose a layer with a 'multiply' mode for the shadows and a layer with 'screen' mode for highlights. Aim is to make it look appealing. I could have added more details, but we wanted to focus on the development later.
I will share more on this project in the coming posts. Happy sketching!
Time taken: 5 hours from drawing characters to colouring


Comments
Post a Comment