Tips for budding artists: How to draw hands?
Many budding artists like me feel drawing hands is a difficult task to accomplish with accuracy. Either a hand drawing looks stiff or disproportional, and it is probably so because of the way we artists perceive hands. Drawing hands may require the artist to have a basic understanding of the underlying skeletal structure. Here is how I try to overcome difficulty in drawing hands.
When it comes to drawing hands, one has to observe them before starting to draw right away. Understand proportions of the fingers, palm and the thumb. A closed fist may be a lot more difficult to represent accurately compared to an open palm.
“All fingers are not the same” is a famous Persian quote, which is literally true in case of drawing hands. It’s a simple observation that the middle finger is usually taller than the rest, and accurately representing this can make or break the sketch. And each finger anatomically has three phalanges except for the thumb (has only two phalanges). It is a good practice to roughly represent the size and a rectangular shape associated with these phalanges. Proximal phalange (One at the base of the hand) on all five fingers appears to be larger than the other phalange bones. A good sketch of the hand must reflect these shapes nearly accurate to the reference used.
Bonus tip: One of the best ways to find a variety of shapes to study for hands is to visit a museum that has any statues or sculptures for to explore. If that is not an option, there are some good mobile apps which allow artists to reference 3D models of hands. I personally use an application called “MagicPoser” on iOS. It has some useful features, but it takes some effort getting used to. If none of these options work for, use the other hand that you don’t use for sketching (non-dominant hand) for reference. Happy Sketching!
When it comes to drawing hands, one has to observe them before starting to draw right away. Understand proportions of the fingers, palm and the thumb. A closed fist may be a lot more difficult to represent accurately compared to an open palm.
Identify the shapes:
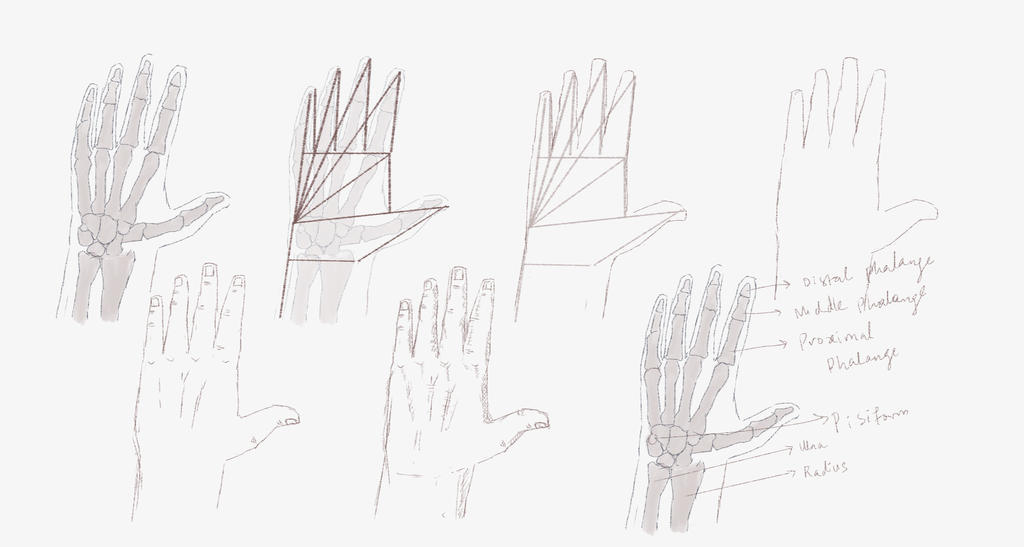
In this example, I will try to layout steps with a technique I used to draw a palm facing down. After thorough observation, draw some rough shapes of the reference to begin with. Then it is a matter of getting the proportions right followed by drawing nails and smoothening the edges. Sounds simple I guess.Steps to drawing a hand:
- Draw a straight line from base of the palm where the bone ‘Pisiform’ lies for the tip of the little finger
- Draw another line to mark for the thumb. Now this whole thing appears like the letter ‘L’
- Draw three more lines in between these two lines
- Draw a horizontal line to mark the base of the fingers
Note: Size of the palm is slightly bigger than the distance from the base of the fingers to the length of the middle finger. - Draw straight vertical lines from the previously drawn horizontal lines each aimed to intersect with lines produced in step 2
- Now draw rectangles for the fingers above the horizontal base line to resemble height and width of the fingers
- Include nails, curves and other fine features to develop the hand
Proportions:
 |
| Source: https://i.pinimg.com/originals/19/54/77/19547788e86a6d9a04fcb2f26aab6d30.jpg |
“All fingers are not the same” is a famous Persian quote, which is literally true in case of drawing hands. It’s a simple observation that the middle finger is usually taller than the rest, and accurately representing this can make or break the sketch. And each finger anatomically has three phalanges except for the thumb (has only two phalanges). It is a good practice to roughly represent the size and a rectangular shape associated with these phalanges. Proximal phalange (One at the base of the hand) on all five fingers appears to be larger than the other phalange bones. A good sketch of the hand must reflect these shapes nearly accurate to the reference used.
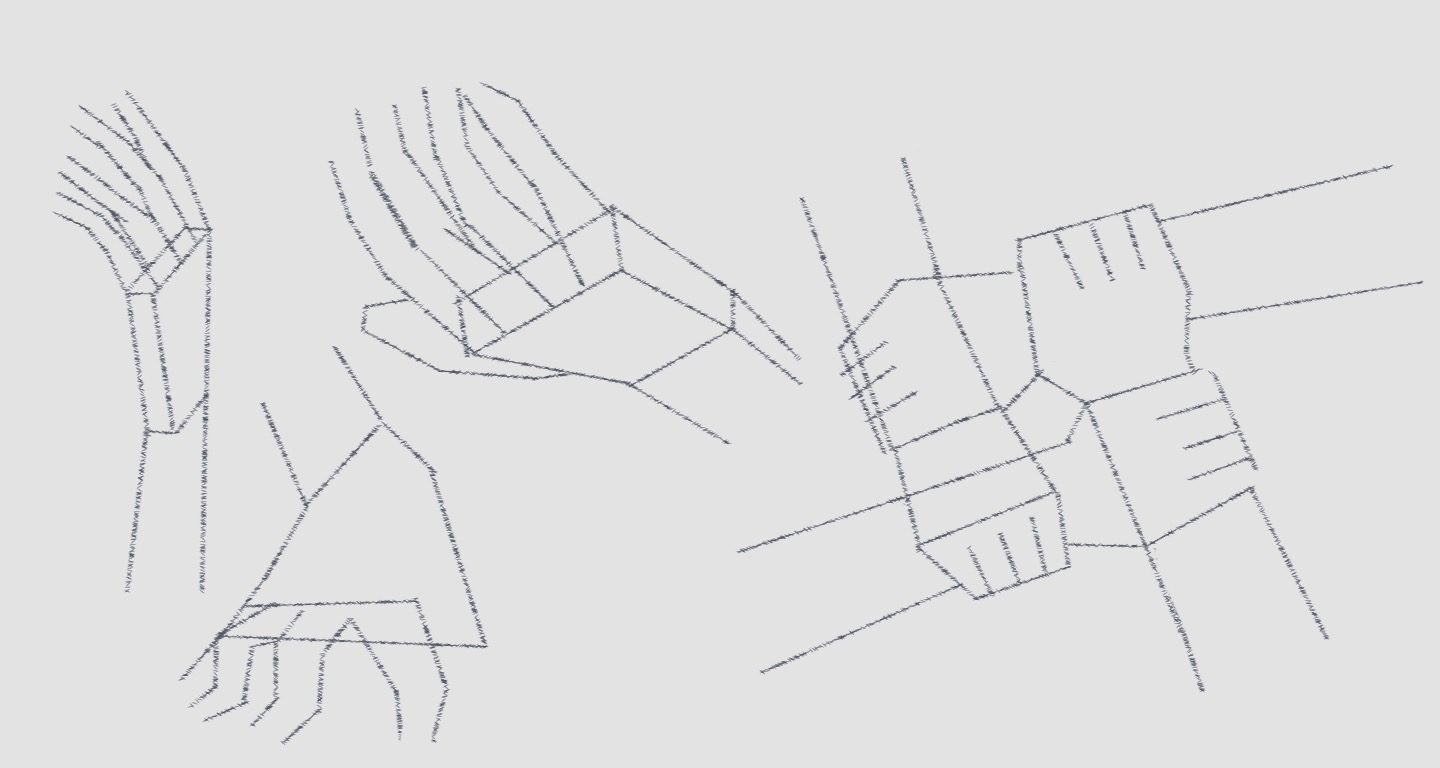
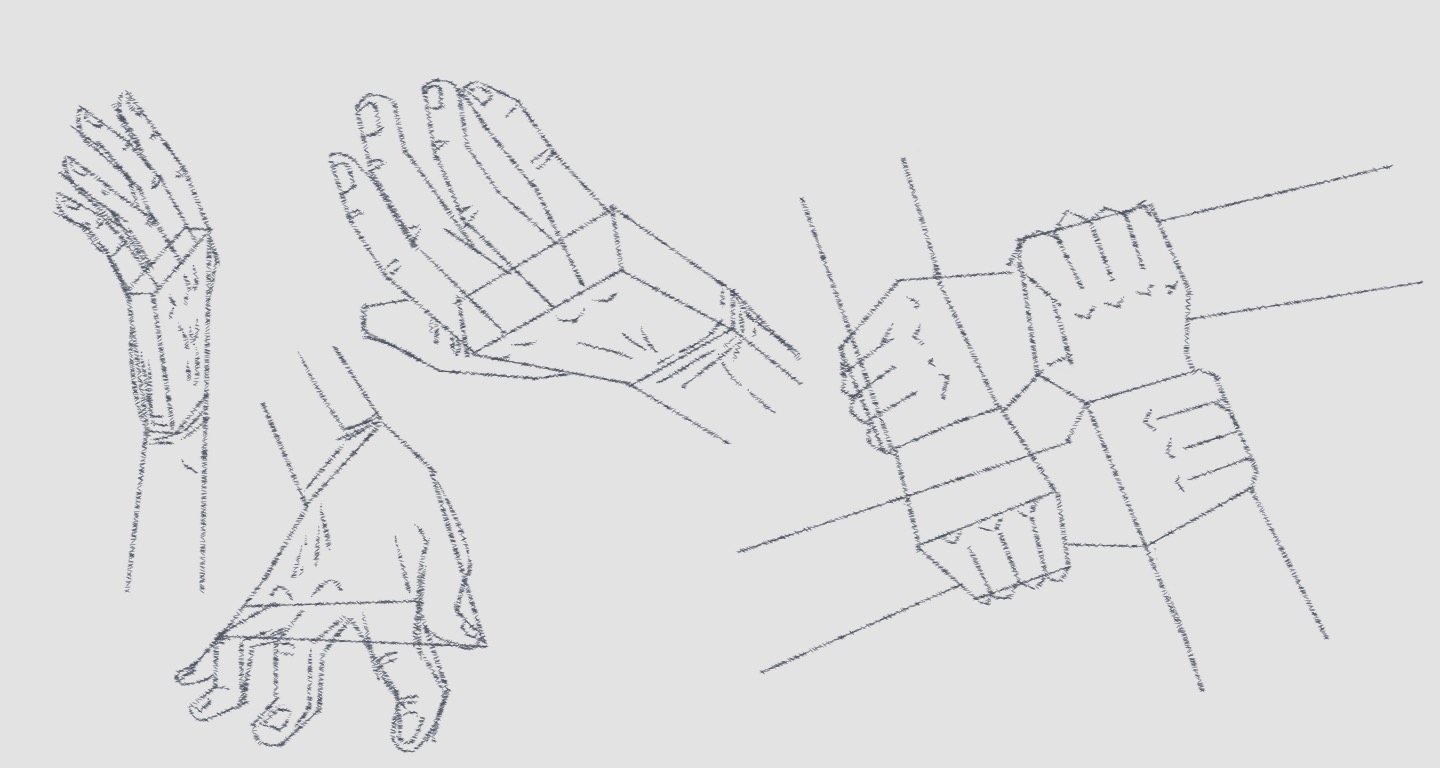
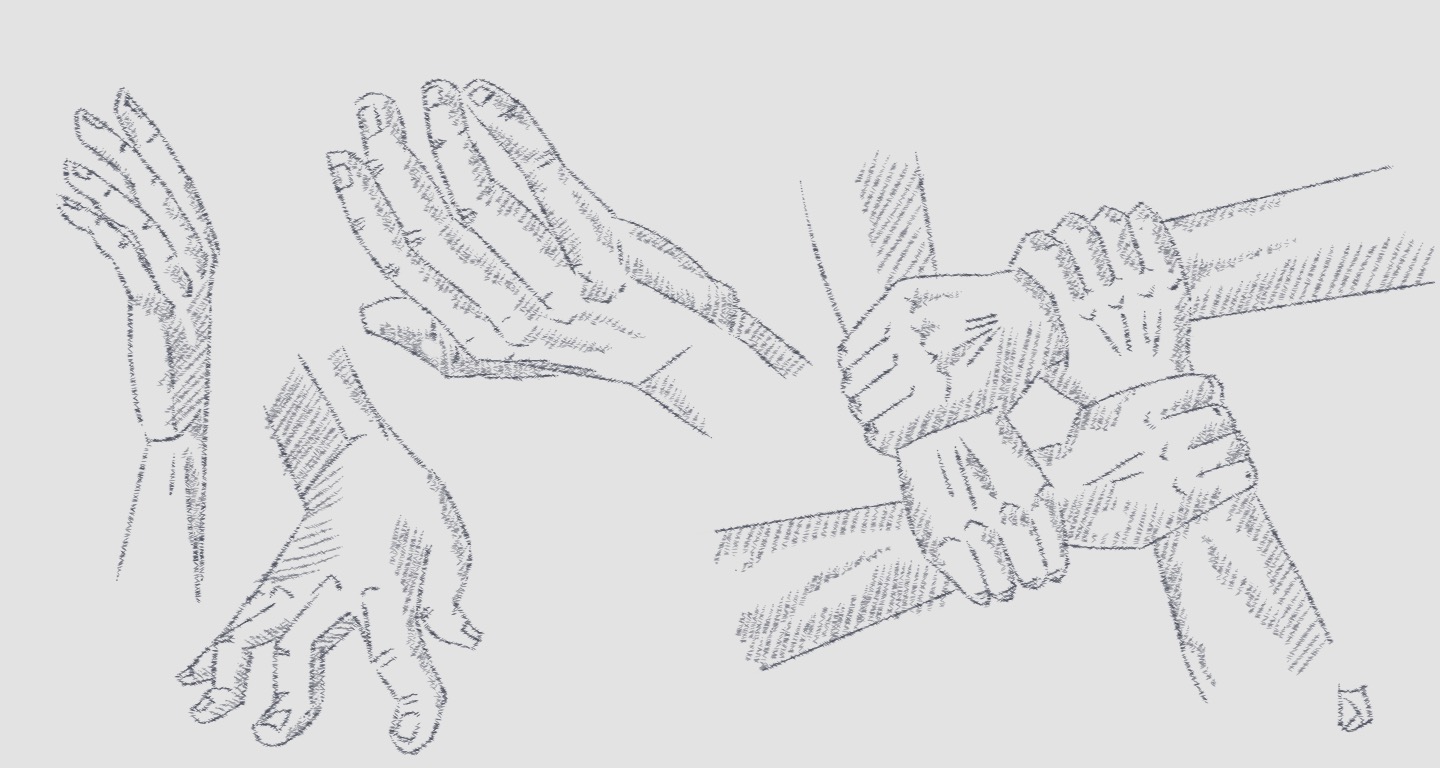
Here are some hands drawn in various poses:
Bonus tip: One of the best ways to find a variety of shapes to study for hands is to visit a museum that has any statues or sculptures for to explore. If that is not an option, there are some good mobile apps which allow artists to reference 3D models of hands. I personally use an application called “MagicPoser” on iOS. It has some useful features, but it takes some effort getting used to. If none of these options work for, use the other hand that you don’t use for sketching (non-dominant hand) for reference. Happy Sketching!


Comments
Post a Comment